Cooperage
Memory Spaces
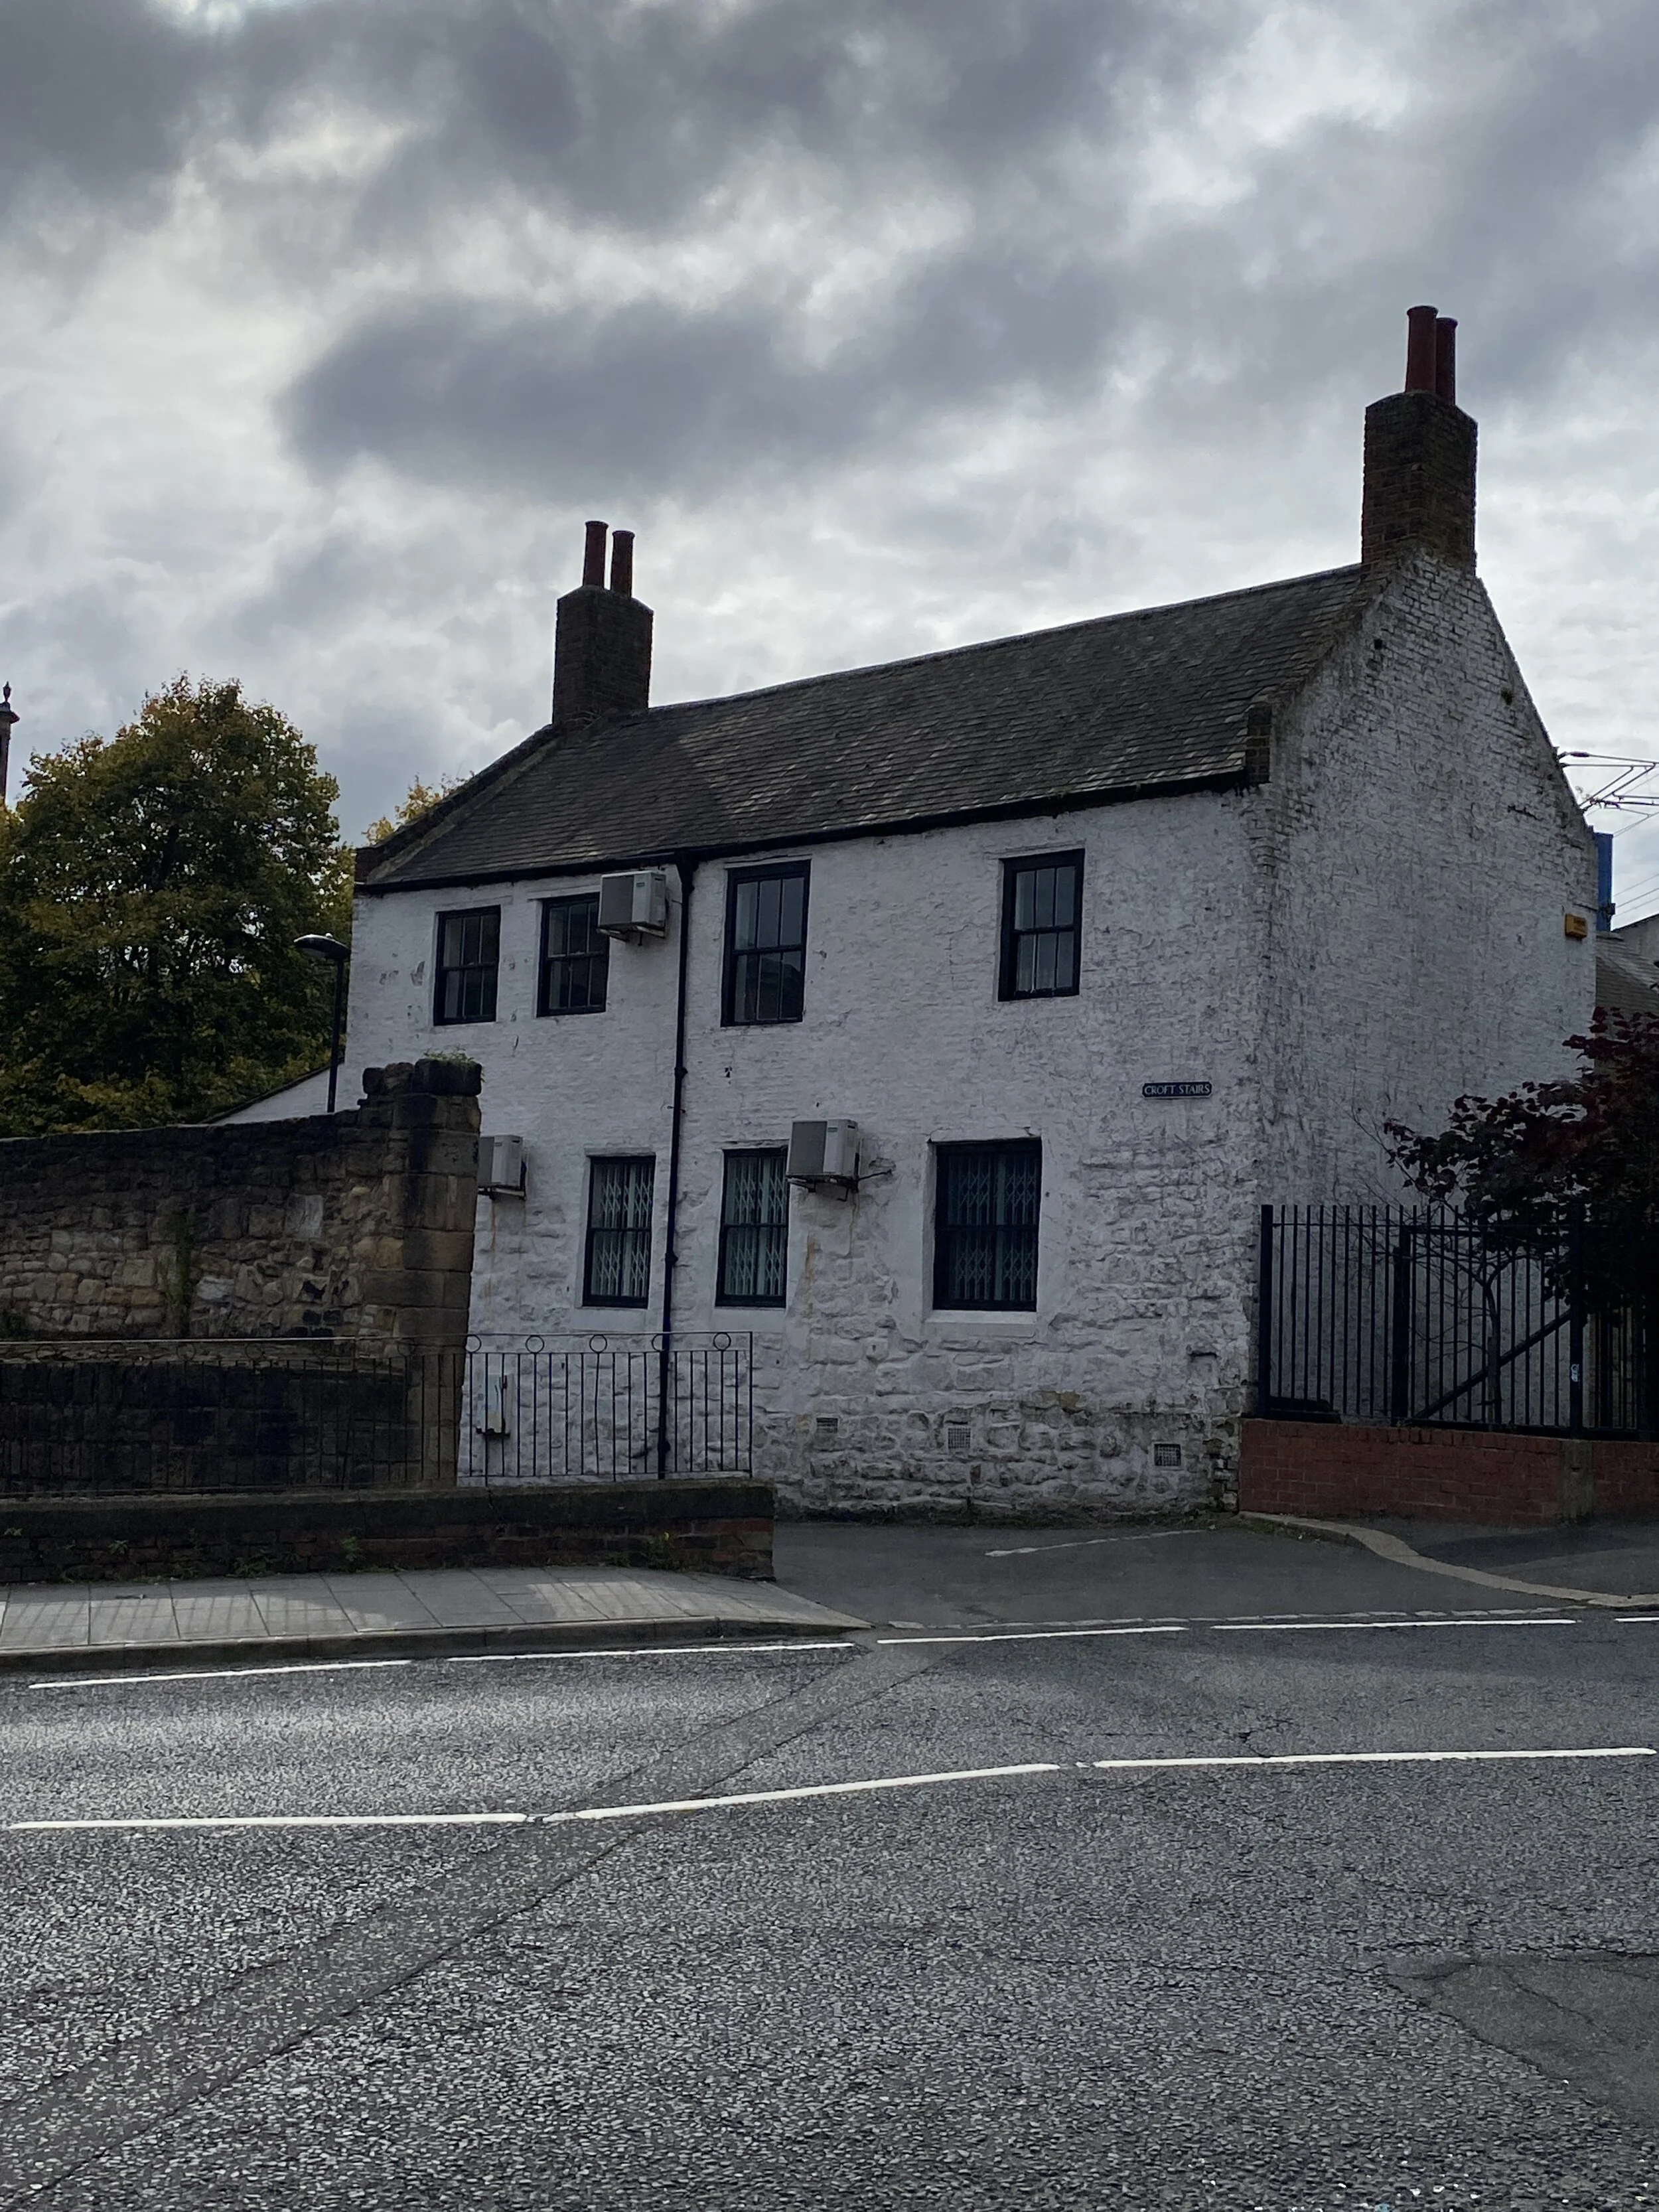
At the start of Year two, we were tasked with designing a space which tells a story about the history of this specific site.
This project brought new challenges, including working with a listed building and its adjoining city wall. We had to manipulate the space within the existing envelope and the adjoining city wall.
Memory Spaces, Initial Design.

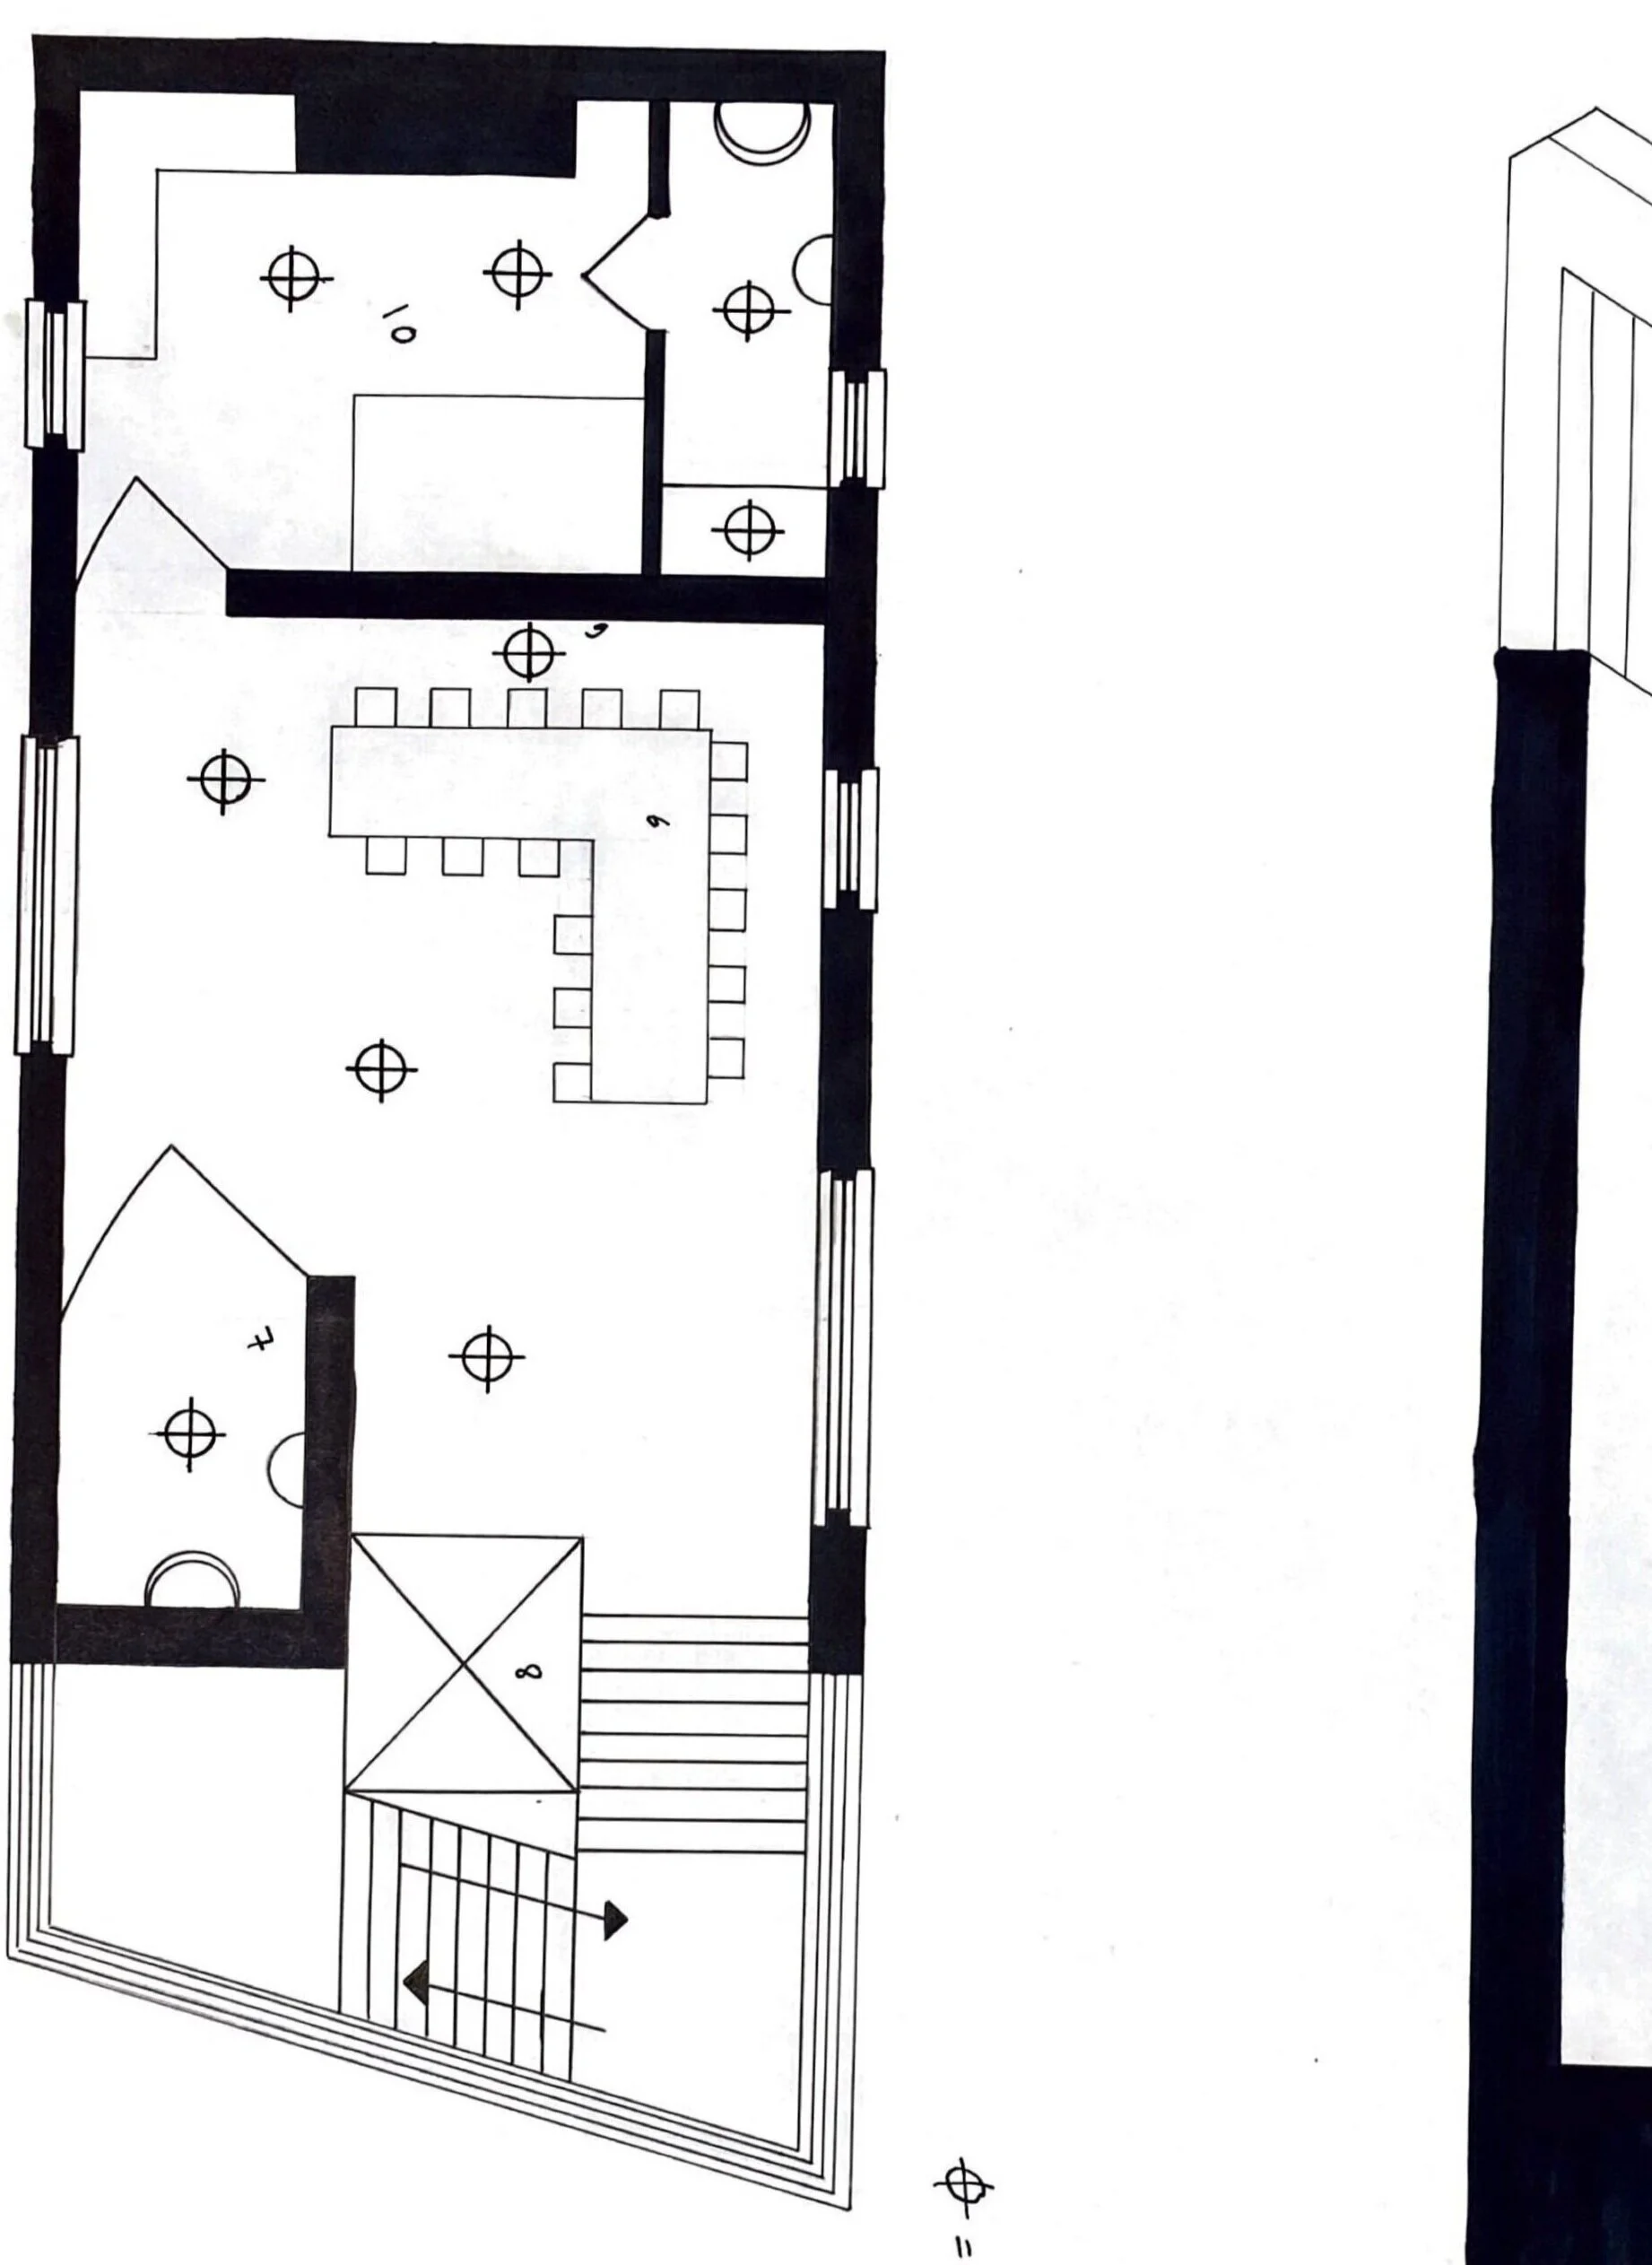
Initial Plans.
At the start of a project, there is a blank slate, which allows for an opportunity to explore far out ideas that can be toned down at a later date. This allows for the simulation of different scenarios and can inform the best design strategy.
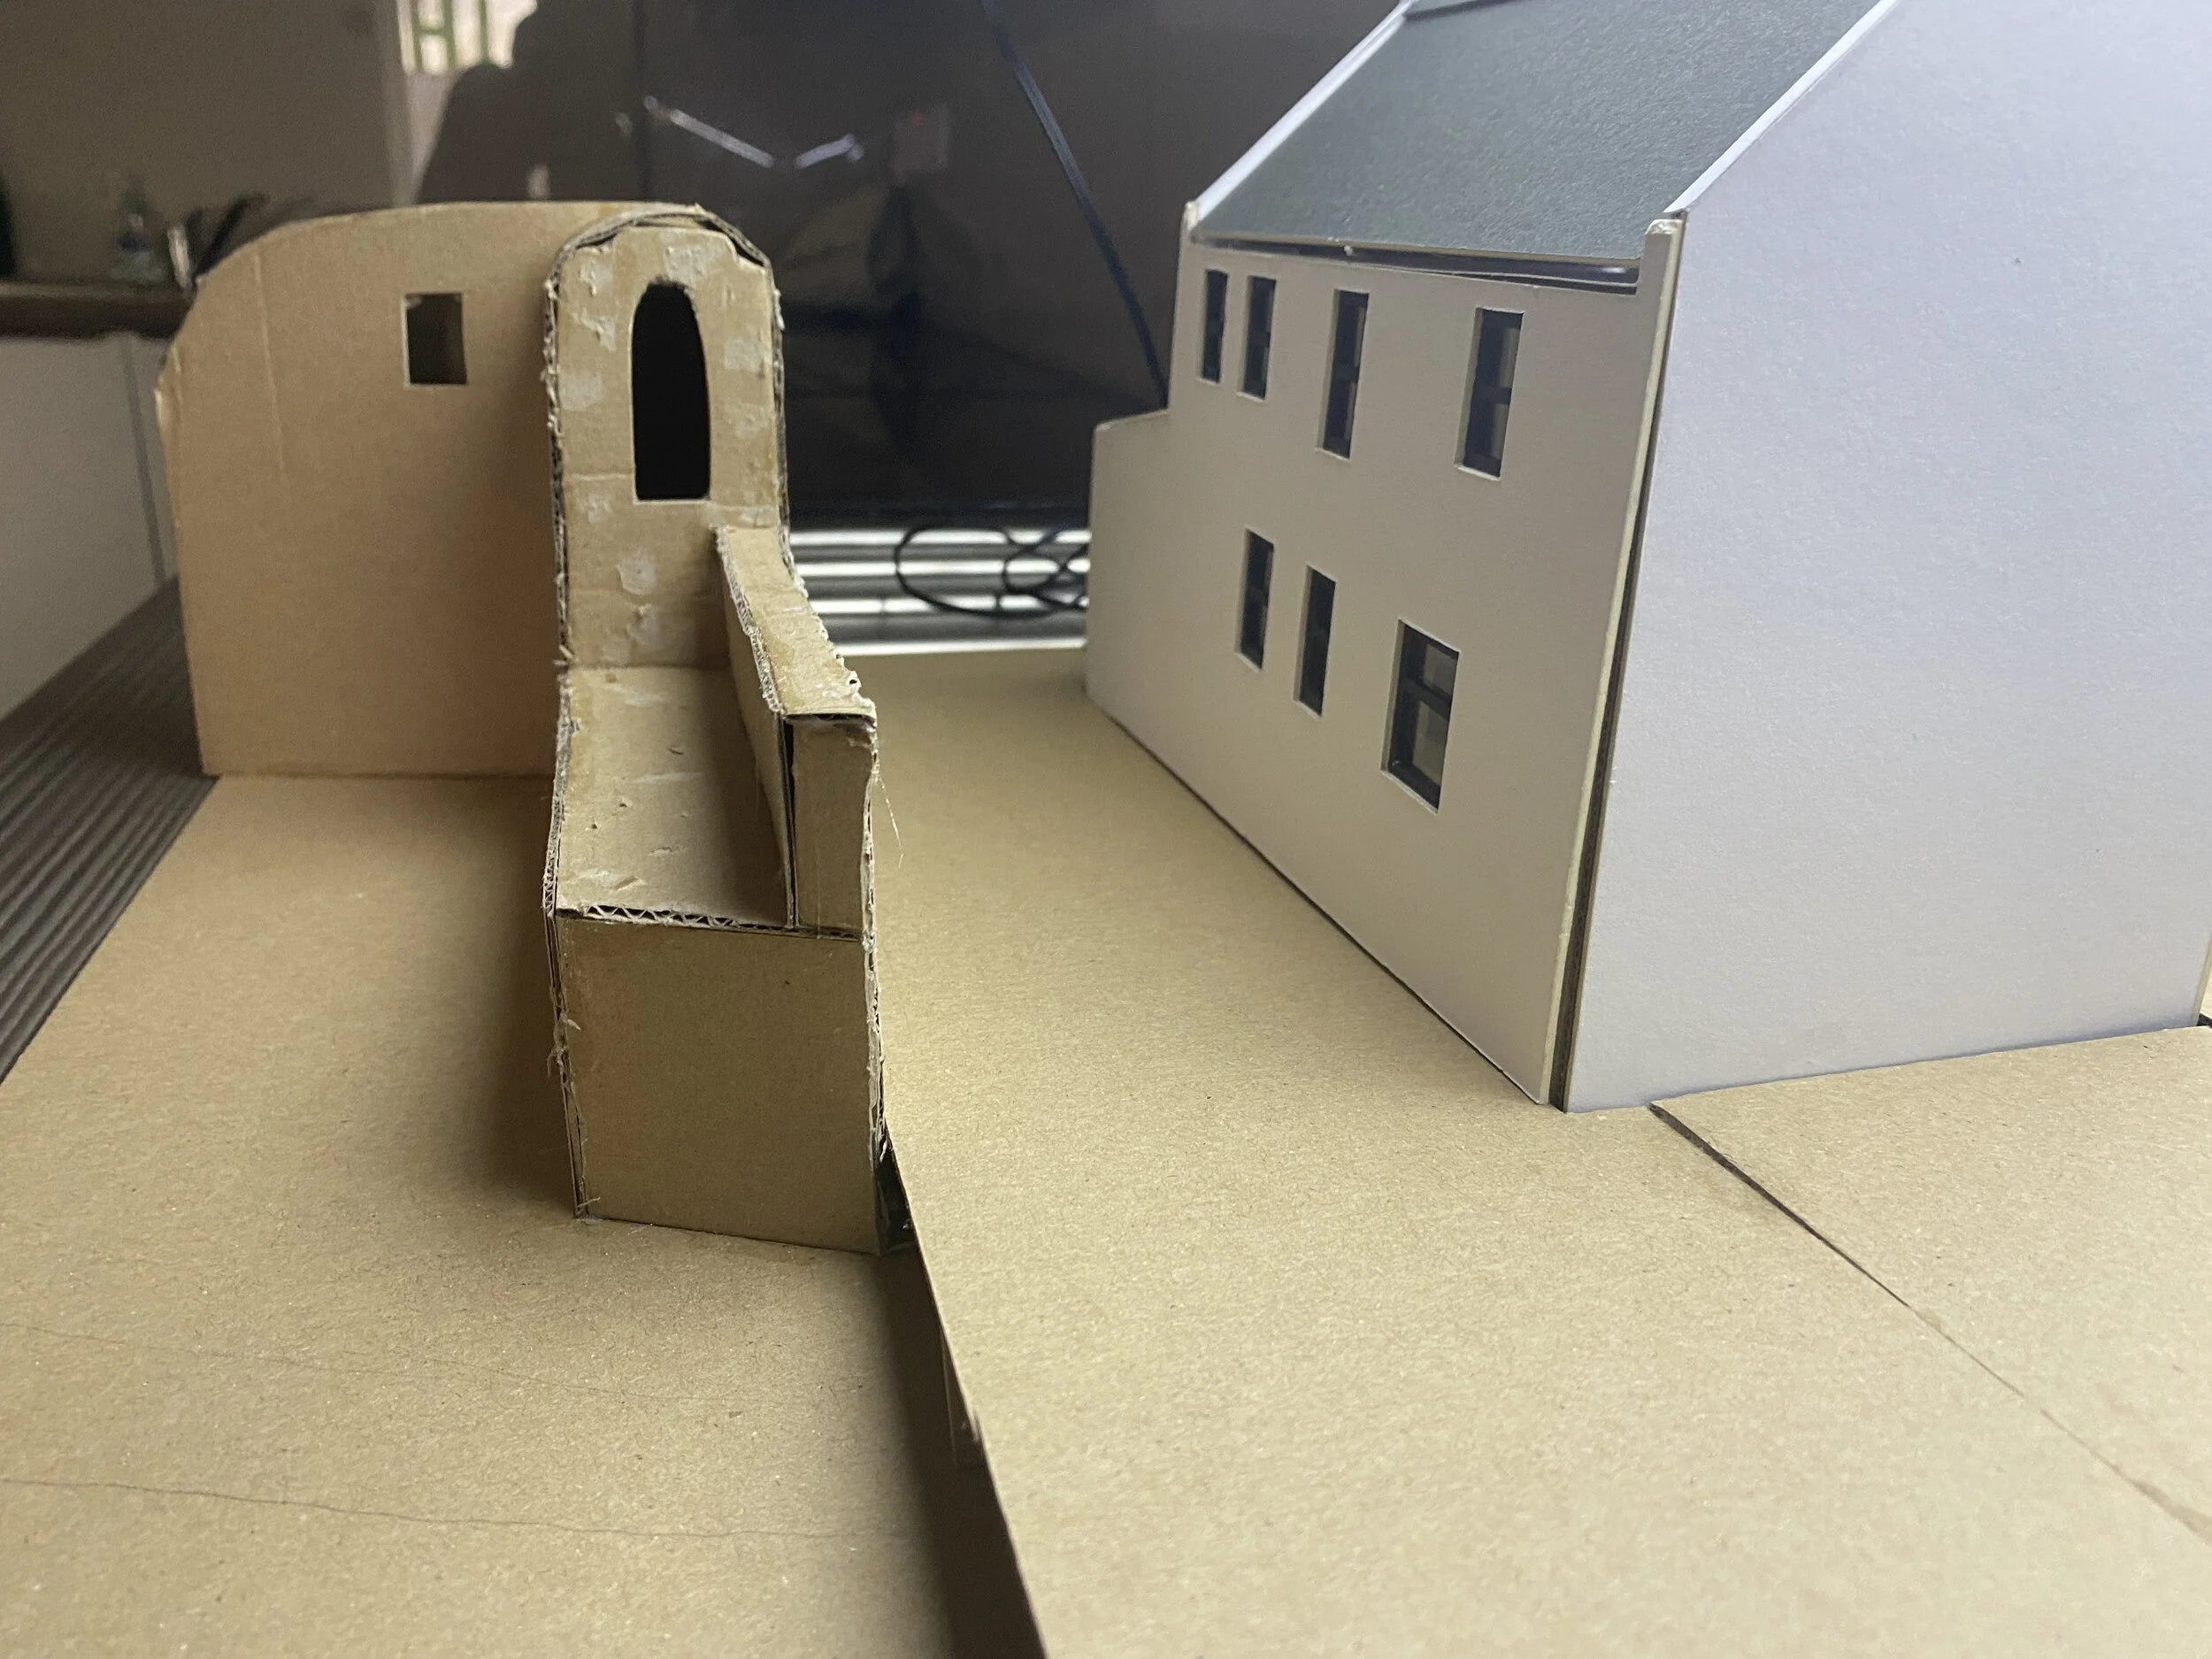
Model.
A physical 1:50 model is used to show spatial quality and allows for the exploration of ideas in a 3D environment. Off of the model, a decision can be made whether or not a design will be practical.
Final Outcome.
Once happy with a design solution, a fine pen version of the idea will be created. This solidifies the design and a higher amount of detail and technicality can be illustrated.
Memory Spaces, Development.
Implement Feedback.
After an initial review, feedback on the design is received and a redesign is started to implement any changes. This process allows for the rethinking of spatial nature and feature placement. Throughout the entire project, history of the site has been included in the design through display boards.

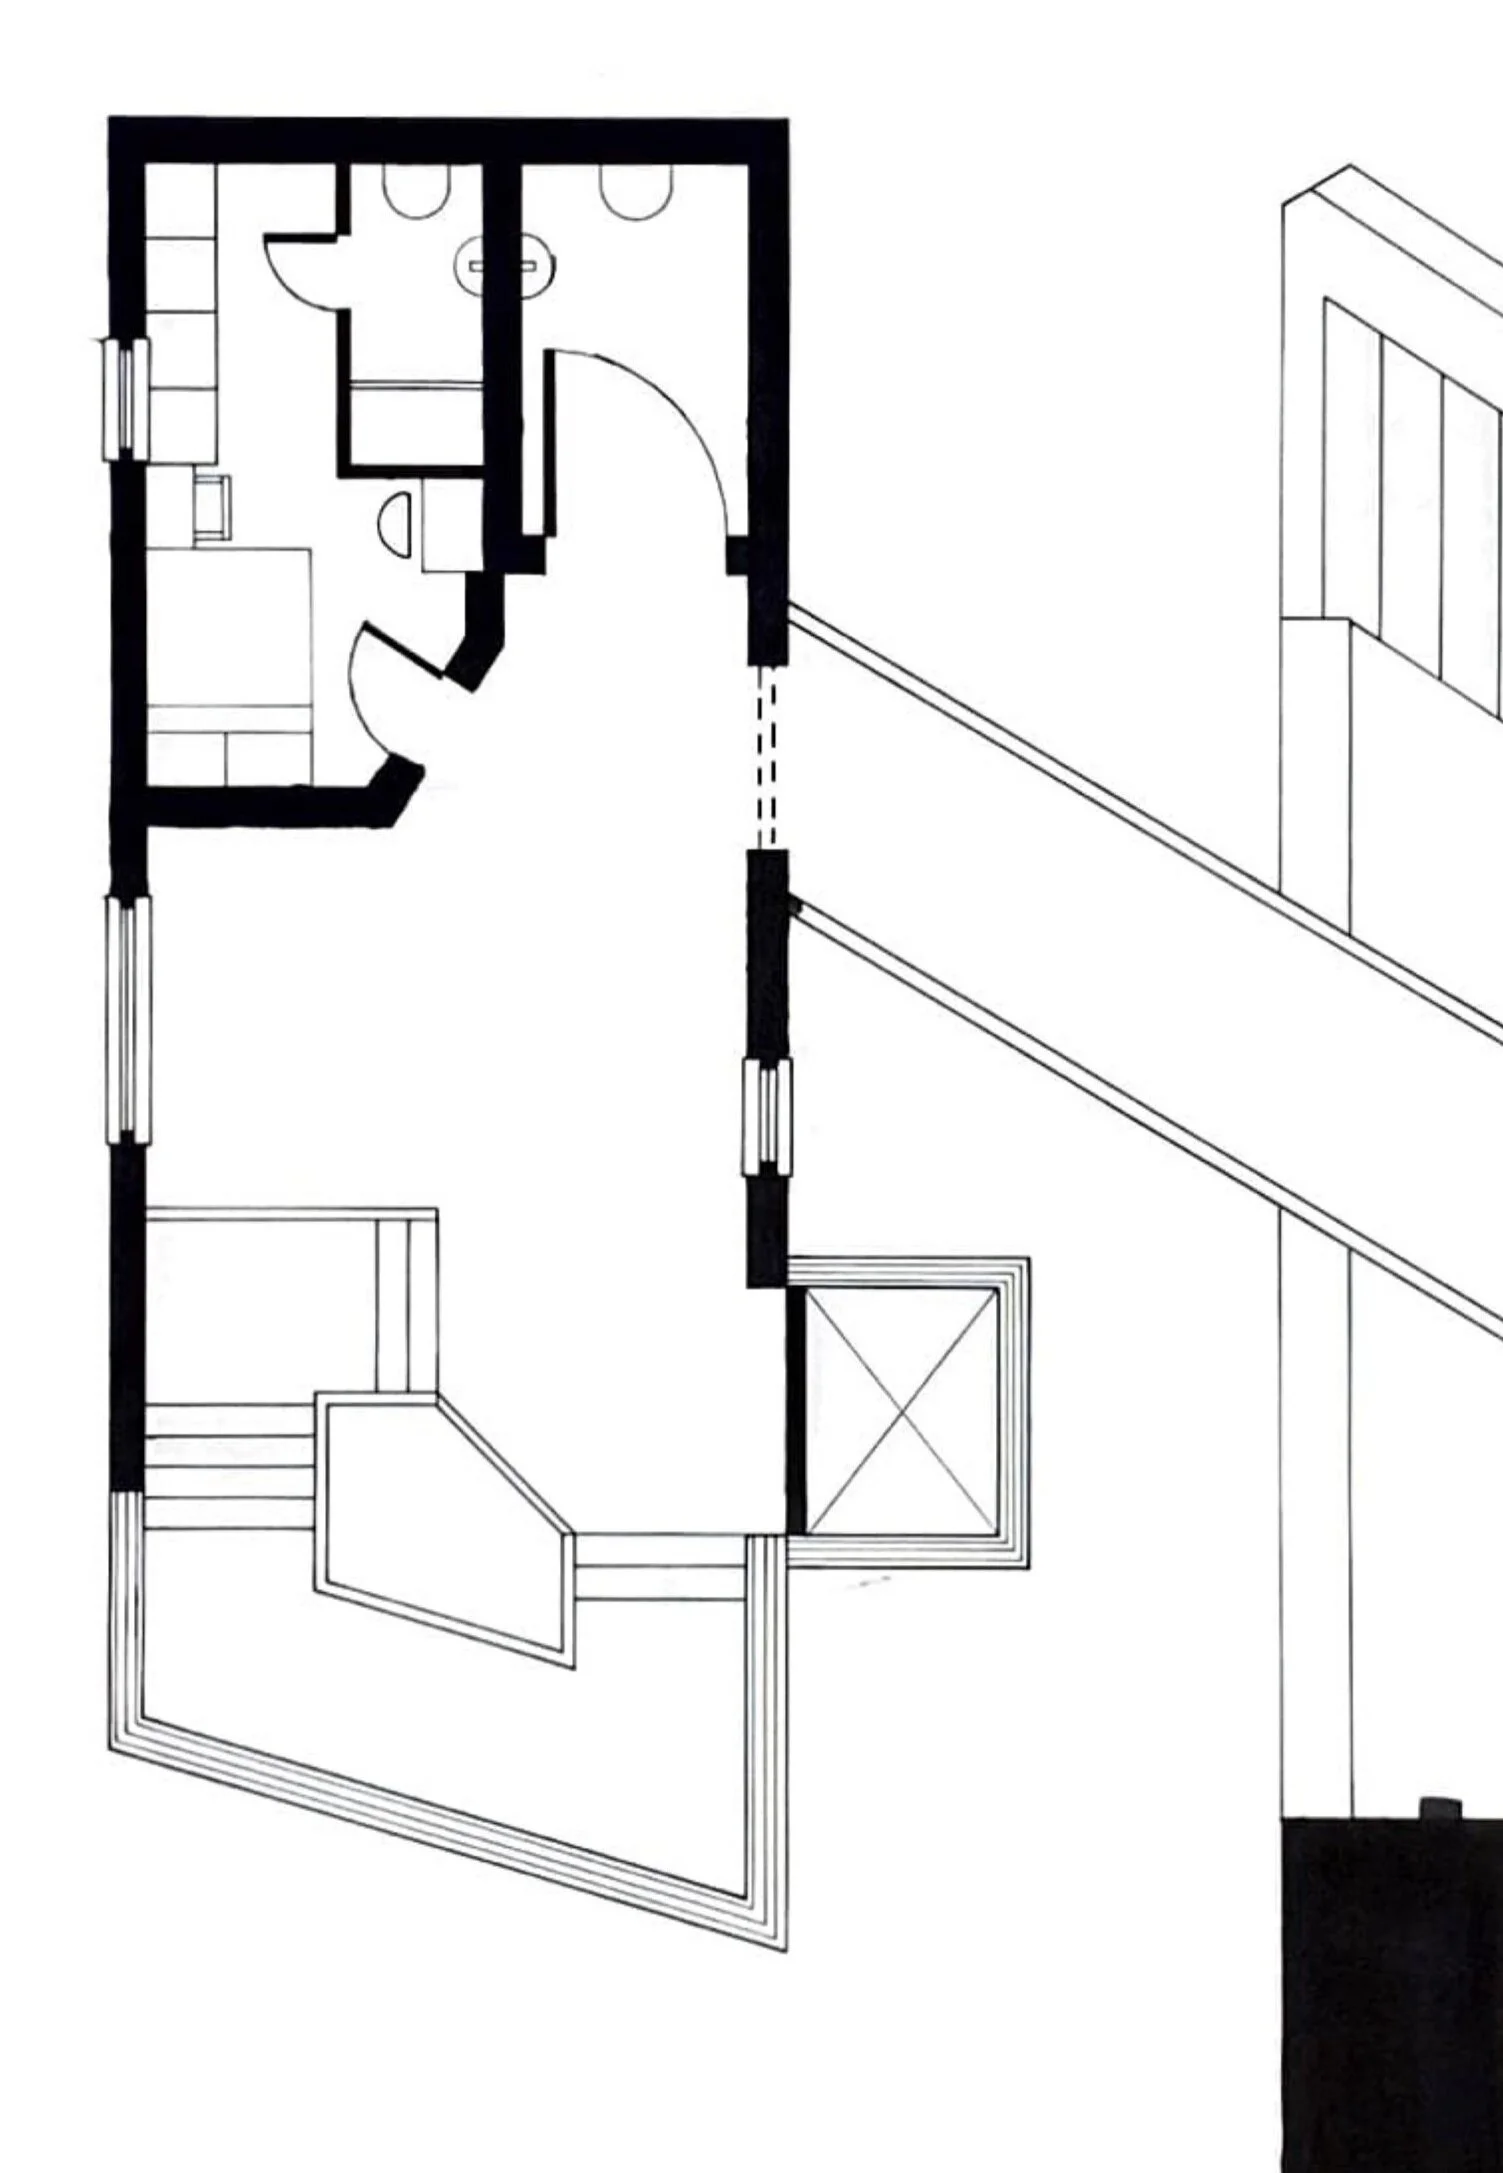
Develop.
Once the redesign is complete, the idea is taken into AutoCAD and a refined version of the space is made. This allows the spatial qualities and features within the space to be maximised. Once happy with the development, the plans, sections, elevations and perspectives are moved into Photoshop to be rendered.
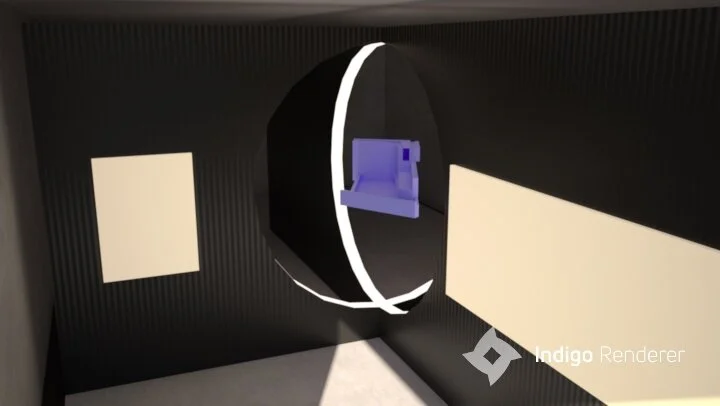
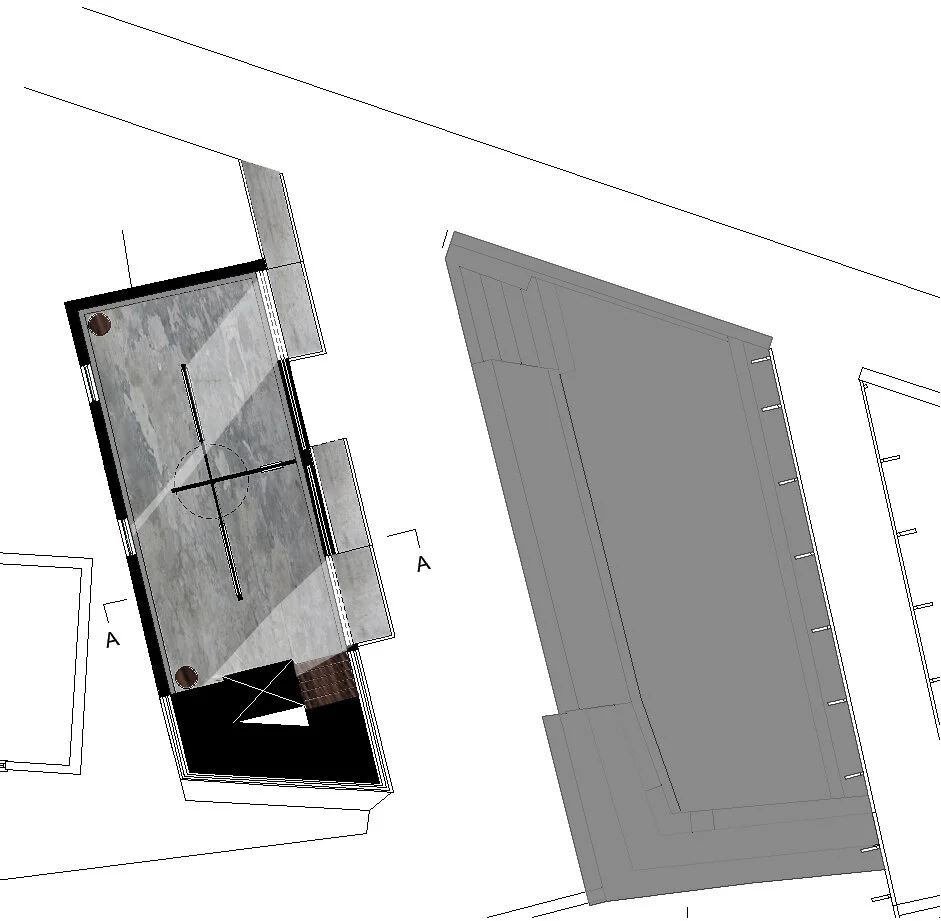
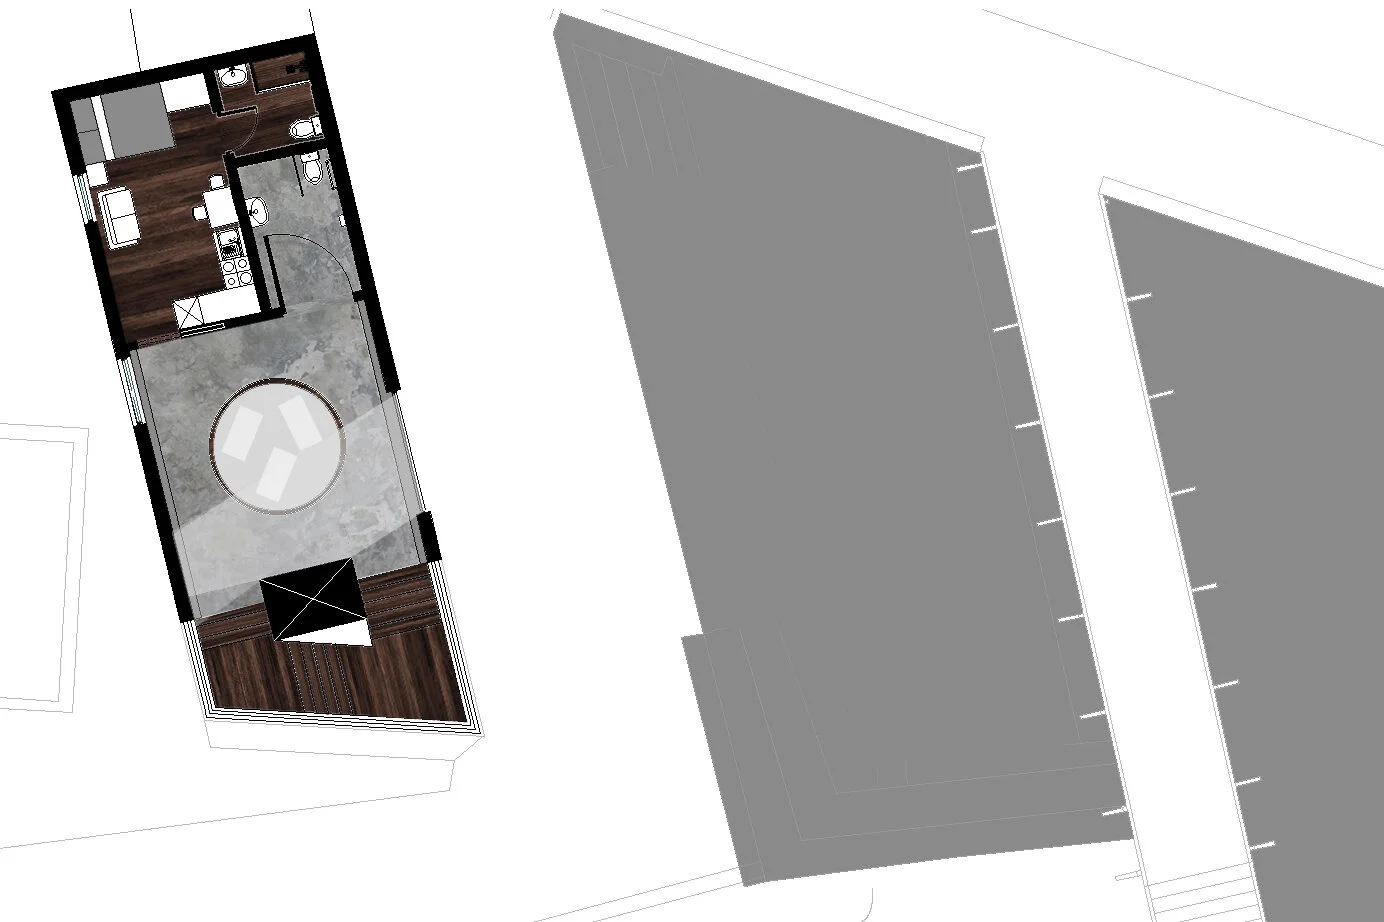
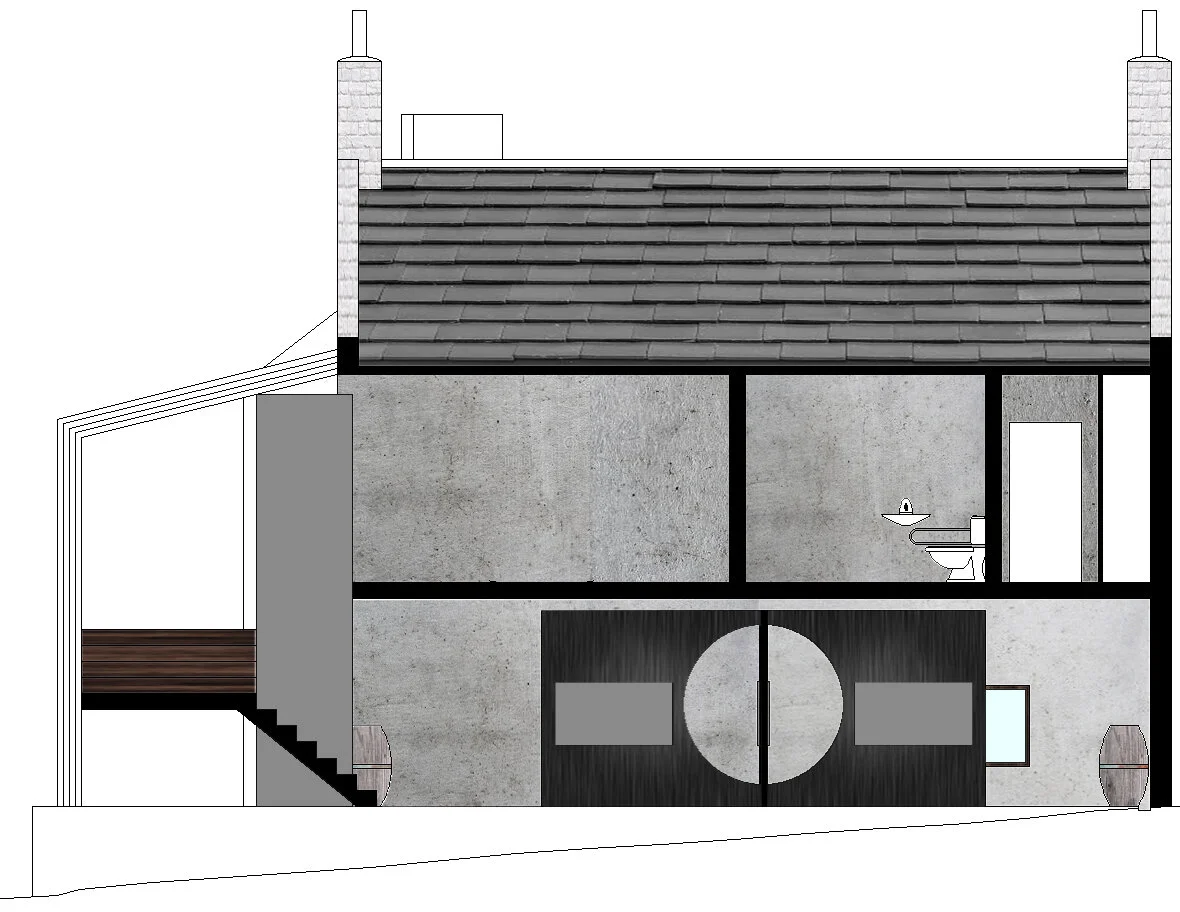
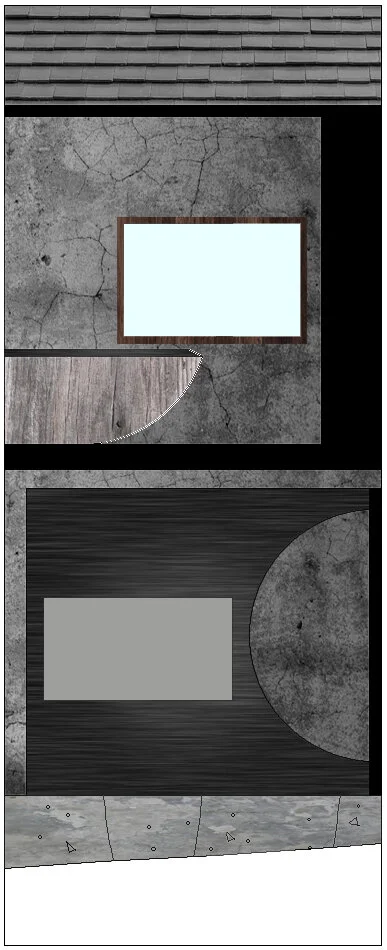
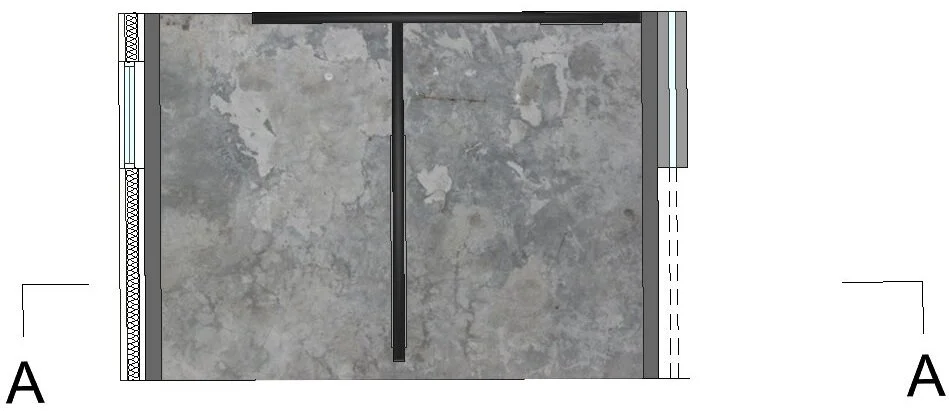
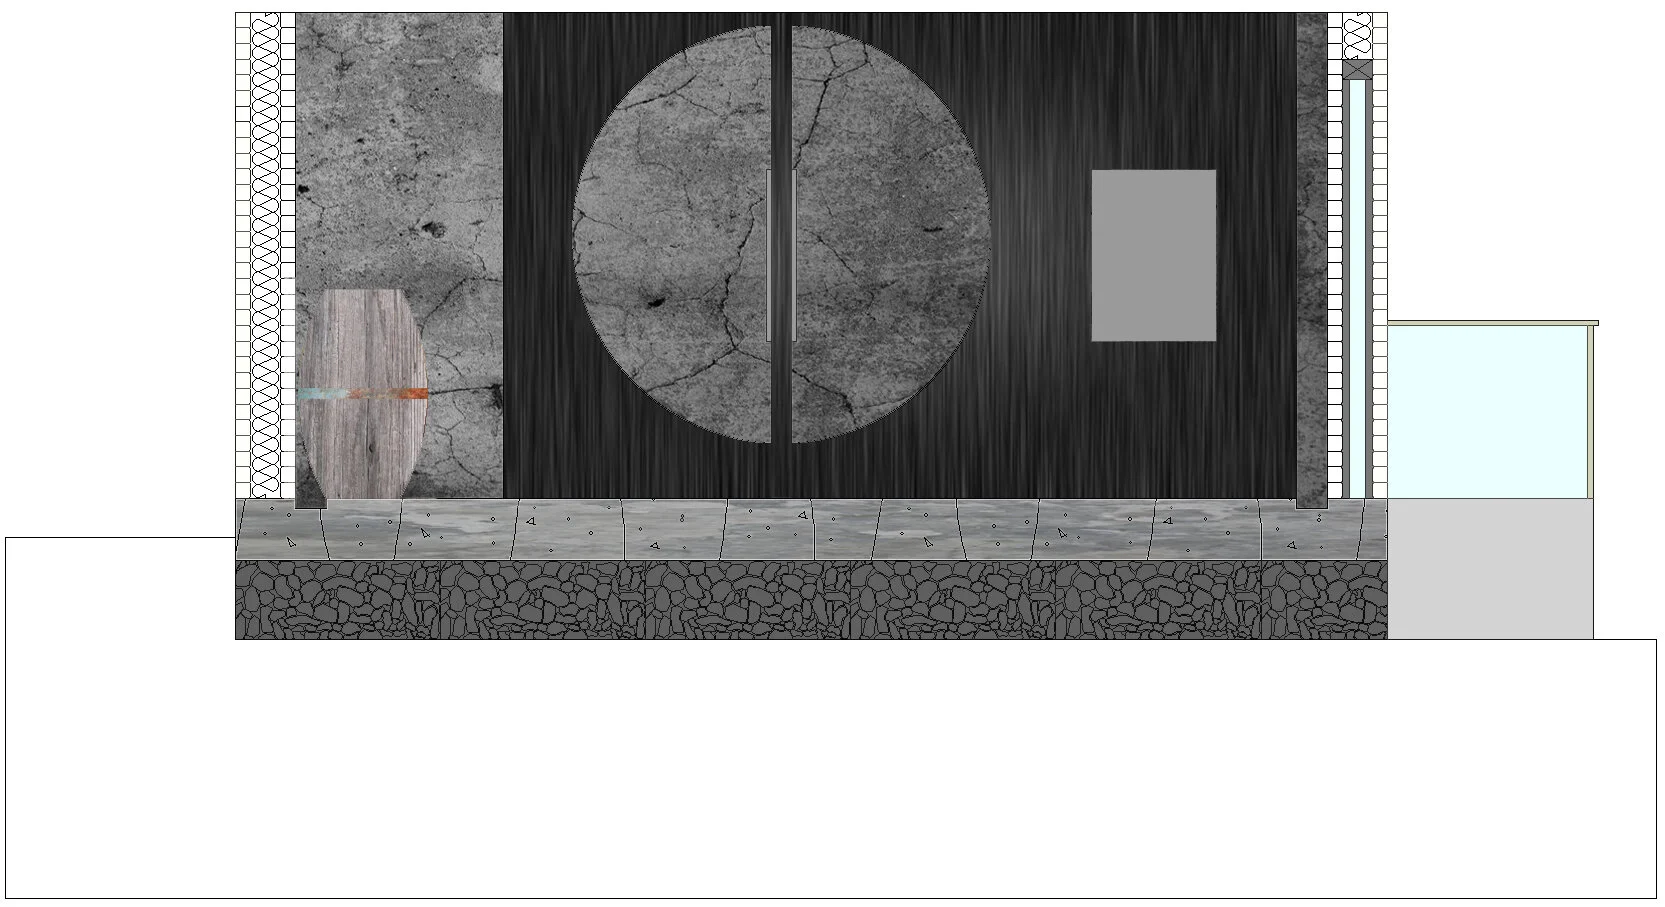
Render.
The rendering process creates a version of the drawings that illustrates the materiality of the space. From this, the reader can better visualise the space from the drawings.
Final Renders.